September 23, 2014
My Unforgettable Journey to Selenium Conference 2014
It is with sheer delight that I am writing this blog to narrate my experiences of attending the SeConf 2014 in Bangalore, India. I am extremely passionate about Functional Automation and have spent more than 9 years of my career in this field. In these initial years I used to enjoy working on a tool called QTP developed by a company called Mercury.
I can still remember when I heard the word ‘Selenium’ for the first time from one of my colleagues while working at Oracle. My instant reaction was that it was some chemical and after some Googling, I realized I was right. It was only after a couple of days that I came to know from the same colleague that what he meant from the word “Selenium” was not a chemical but the open-source functional automation tool.
After further doing some research I found out that the gentleman who created Selenium thinks that it is better than Mercury QTP tool and that’s the reason he named it Selenium (which poisons mercury). I was taken aback when I first heard this but later decided to learn and master this tool, a step which if I had not taken would have ruined my chances to progress in the existing job. It was this decision that my journey to learning Selenium got started.
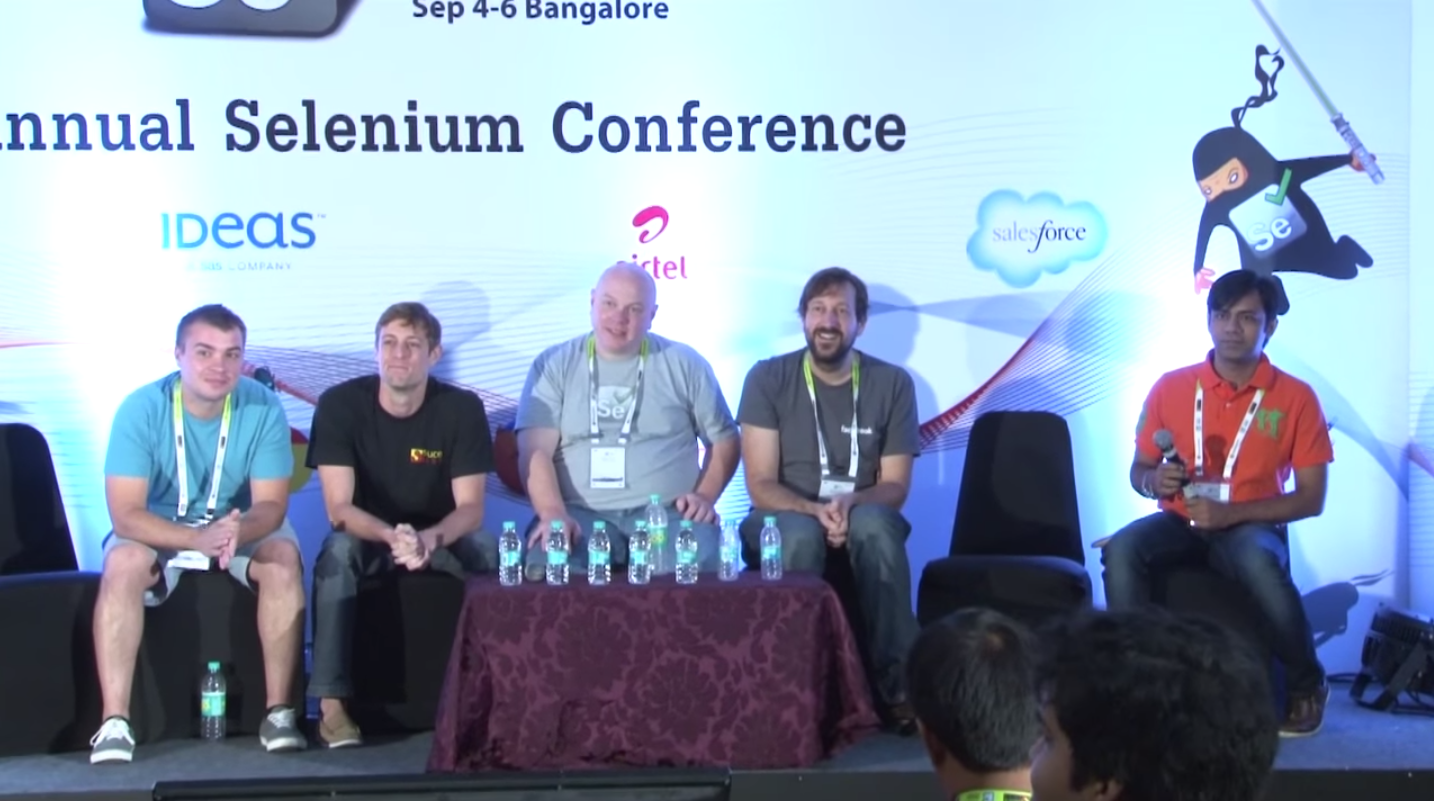
Amit Rawat (far right) on stage taking questions from the audience at the SeConf 2014.
After working for five years on this tool, one day I came to know that the 4th Selenium Conference would be held for the first time in India and I had the opportunity to represent my company at this conference. It was certainly a dream come true for someone who is an avid learner of Selenium. I thought I would make the most out of this opportunity by sharing my knowledge, which I gathered over the years on this tool. I proposed a session to speak at the conference on testing responsive web applications using Appium and the WebDriver API. Even though my proposal wasn’t selected, I was happy with the fact that I managed to get 27 likes on the idea.
After much anticipation, it was finally D-Day for the conference, which started with long queues at the registration desk. There must have been around 400 other attendees representing more than 100 different companies in this event. 
Day 1 started with the keynote presented by the “man himself” Simon Stewart, who created Selenium WebDriver. It was an amazing experience to see him in-person and to hear him discuss the future roadmap of Selenium. A few important announcements made in the keynote were:
- Selenium RC would not be part of the upcoming release of Selenium 3.0. So this was a final call and warning to all the people to upgrade from RC to WebDriver.
- Selenium 3.0 will standardize the API by coming up with a well-defined W3 Spec after which all browsers implementation will follow. So it would definitely make developers’ lives easier by using the same approach across all browsers.
- Selenium 3.0 will have no support for mobile browsers and the alternative solutions like Appium, iOSDriver, and Selendroid can be used for Mobile automation.
Apart from the keynote, I got a chance to attend some really good sessions. I especially liked the session presented by Jim Evans, where he showed how a company like Microsoft, whose executives used to compare open-source software to a virus, has changed its mindset in no time. Now the same company has started contributing to open-source projects like Selenium by providing their own WebDriver implementation for Internet Explorer. This change of stance clearly shows the power of the open-source movement.
Another interesting session which I personally liked was “Scaling and Managing Selenium Grid” by Dima Kovalenko, who is also one of the Selenium committers. In this session he shared minute details about Selenium Grid configurations and some best practices, like always running a single grid node on a machine. So it is always recommended to have a dedicated VM for a single browser node rather than having multiple nodes running on a powerful machine. He also shared a very useful tool created by him to manage Selenium Grid configurations.
During the session breaks I interacted with many other attendees including the Selenium core committee members and tried to understand how they are utilizing this wonderful tool and what improvements they want to see in this tool. I got some amazing ideas during those interactions and I would surely like to try them in due course.
The biggest moment of the conference for me came when the Fish Bowl session started and I got the privilege to share the dais with the Selenium core committee including Simon, its founder. It was such a privilege to answer audience queries, one of which was a question related to mobile browser emulation using ChromeDriver.
Overall, it was an enriching experience for me to attend this conference, where I learnt so many new things and networked with the Selenium community.
This article was originally published on Amit’s personal blog, and can be accessed here: https://automatingeverything.blogspot.com/