Getting Started With PhantomJS
When I first heard the name PhantomJS, I thought it was another Javascript framework or library, like AngularJS or NodeJS. I came to know how different it was once I studied more about it. In this blog, we are going to dive into what PhantomJS is and its many possibilities.
What is PhantomJS?
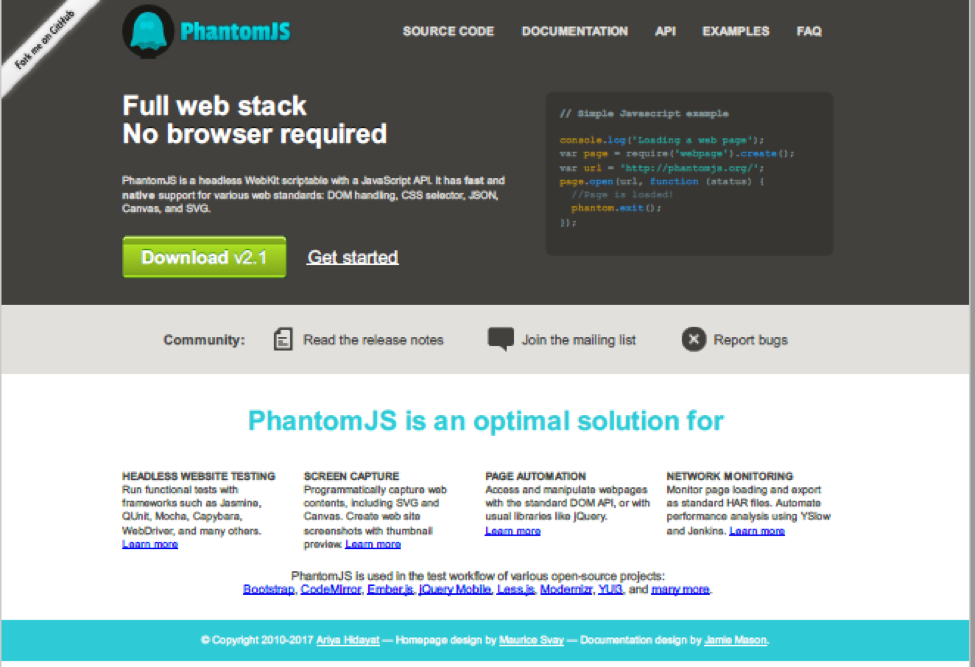
Phantomjs.org, the official PhantomJS website, describes it as “A headless WebKit scriptable with a JavaScript API. It has fast and native support for various web standards: DOM handling, CSS selector, JSON, Canvas, and SVG.”
In simple words, we can say that PhantomJS is a browser without a GUI, but with the JavaScript API built in. The execution of PhantomJS happens at the command prompt. Using PhantomJS, we can load a web-URL, manipulate DOM, take screenshots, read/write files, and perform many more useful things. It can be easily integrated into Continuous Integration (CI) tools and can help us in website headless testing.
PhantomJS is an open source and free software and is distributed under the BSD license. Its first version was released in April 2011.
Use Cases
Page Automation: We can use PhantomJS to load and manipulate a web page, and to perform operations like DOM manipulation, clicking on buttons, etc. We can also include jQuery on a web page using page.include JS, which allows us to automate all interactions with a web page without having to open a browser.
Screen Capture: PhantomJS can be used to take screenshots of web pages. It can also capture the screen on display of SVG files, images, and Canvas elements. These screenshots can be rendered in different formats like PDF, JPEG, PNG, and GIF.
Network Monitoring: With the help of PhantomJS, we can monitor the network and validate the behavior and performance of a particular webpage. It is suitable to analyze network behavior and performance. We can hook into PhantomJS during a request-response cycle and collect data about the website. This data can then be reformatted, which allows us to check the performance of a webpage.
Headless Web Testing: PhantomJS is not a testing library, but many other popular testing libraries can run on top of it. PhantomJS test runners are available for pretty much every testing library you might want to use, including Mocha, Jasmine, and Qunit. It can run tests cases and show the result on the command line.
Features
- Multi-Platform: It is available on all major operating systems like Windows, Mac OS X, Linux, and other Unix.
- Fast and native implementation of web standards: DOM, CSS, JavaScript, Canvas, and SVG. No emulation!
- Pure headless: This is ideal for continuous integration systems. It also runs on Amazon EC2, Heroku, and Iron.io.
- Easy to install and use: Download, unzip and start using it.
Download and Installation
First, we need to install PhantomJS on our machine. Go to the download page of the PhantomJS official website, where you can download the .zip file according to your OS. Different versions are available for Windows, Mac, and Linux.
Once downloaded, unzip it, and you will find the following files:

Go to the “bin” folder and check phantomjs.exe file. If you are using it on a Windows OS, then you can set the path variable under the environment variable for fast access through command prompt.
To check if it is working correctly, open the command prompt and execute the following command to check its version: C:\> phantomjs –version

The command to run the PhantomJS program: C:\> phantomjs [options] file.js arg1 arg2 …
Now create a simple program just to display a message and see how to execute it:
Create a file with the following line of code:
console.log(‘Hi, PhantomJS!’);

phantom.exit();
Save the file with the name “HiPhantom.js”
In the above program, “phantom.exit()” is used to exit the script. If you don’t execute it, then the command prompt will think that the program is still executing.
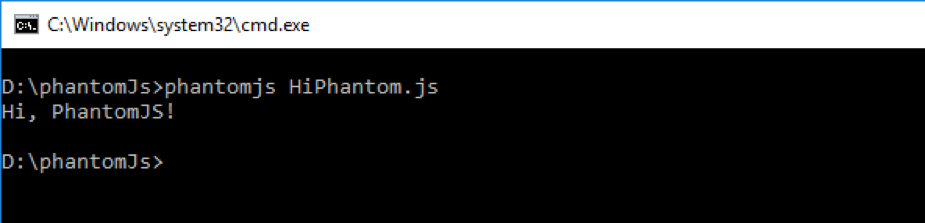
To execute the program, go to the directory where you stored the file and execute the following command: C:\> phantomjs HiPhantom.js
Screen Capture Example
Now let’s take another example to take a screenshot of a website.
Create a file and write the following code:
var webpage = require('webpage').create();

webpage.open('http://phantomjs.org/', function() {

webpage.render('phantom.pdf');

phantom.exit();

});
Save the file with the name “TakeScreenShot.js”
Execute the program using the following command: C:\> phantomjs TakeScreenShot.js
It will take few seconds to execute and generate a PDF file in the same directory where your JS file is stored.
Output:
Explanation:
The ‘require(“webpage”).create()’ command creates a webpage object. Using this object, we can open and manipulate a webpage. In the code shown, we used a webpage object to open the http://phantomjs.org website and then used the render function to take a screenshot and render it into a PDF format.
Page Automation Example
Create a file with name “PageAutomation.js” and write following code:
var page = require('webpage').create();

page.open('https://www.google.co.in/', function(status) {

page.render('Before.png');

console.log(page.url);

this.evaluate(function() {

document.querySelector('input[name="btnI"]').click();

});

window.setTimeout(function () {

console.log(page.url);

page.render('After.png');

phantom.exit();

}, 10000);

console.log('element is ' + element);

});
In the above program, we are opening Google’s home page and taking a screenshot of it. Then, we are using the ‘this.evaluate()’ function to perform a certain event on webpage; in this example, we are clicking the “I’m Feeling Lucky” button. Inside the ‘evaluate()’ function, we can perform any type of action, like DOM manipulation or fire an event, like button click. The function will finish by taking a screenshot of the current state of the webpage. So after execution of this program, you will get two .PNG screenshots of the webpage’s different states.
Execute the above program:

The output:
Before execution

and after execution.

Summary
In this post, we got to know about PhantomJS and its use cases and features, and explored some practical examples of how to use it. There are a lot of other possibilities, but they are difficult to cover in a single post. For example, PhantomJS provides many modules like WebPage, FileSystem, System, and WebServer. It also provides various objects and methods. In addition to this, you also get an example directory with the installation package, which contains a good number of examples of different use cases of PhantomJS. I recommend exploring the many possibilities offered by PhantomJS.
Recent blog posts


Stay in Touch
Keep your competitive edge – subscribe to our newsletter for updates on emerging software engineering, data and AI, and cloud technology trends.